10 Bakery-Style Pie Crust Tips

How to Achieve Bakery-Style Pie Crust: A Professional Pastry Chef’s Pie Crust Tips for Home Bakers

Creating the perfect pie crust at home can seem like a daunting task, but with a few simple techniques, you can achieve that a beautiful bakery-style finish for your holiday pies!
Whether it’s Thanksgiving or Christmas, baking pies can become the most enjoyable part of your holiday preparations. It’s fun when you know it is going to turn out!
As a professional pastry chef and bakery owner, here are my tried-and-true tips to help you bake beautiful, golden, flaky, and flavorful pie crust at home.
The 3 Secrets to Perfect Pie Crust:
- Golden: Achieve a beautifully golden pie crust with the right butter-to-temperature balance.
- Flaky: Create a flaky texture by mastering mixing and rolling techniques.
- Flavorful: Buttery, melt-in-your-mouth flavor is the hallmark of a great pie crust.
Ready to level up your pie crust? Let’s dive into my pro tips for mastering homemade pie crust from scratch!

1. Chill the ingredients:
For a tender, flaky crust, use cold ingredients! Cut the butter/fat into small cubes, then freeze for 15 minutes spread out on a parchment covered dish. Spend that 15 minutes measuring the rest of the ingredients for the dough. Every ingredient should be kept cold; the temperature of the pie crust ingredients increase quickly during mixing due to the temperature of the room, friction while incorporating, or heat from your hands, food processor or stand mixer.
2. Mix carefully:
Always add the butter to the dry ingredients (flour, sugar, salt, etc.) first and cut it in until the mixture looks like small pebbles and course meal (and bench scraper is a great tool for cutting in the butter if you are mixing by hand). The process of “cutting in” the butter will allow the fat to coat the majority of the flour, resulting in a flaky pie crust.
Stream cold liquids (water, vodka, or vinegar) into the mixture gradually, gently combining until the dough holds together. Keep the dough moving.

3. Wrap & press:
Gently press the dough into a mound. Transfer your dough to plastic wrap. Use a rolling pin to flatten it to about ½ inch thick. This prevents oxidation and allows the flour to absorb moisture, making it easier to roll out later.
Remember, the less you work the dough, the flakier your pie crust will be!
4. Rest the pie dough:
Chill the dough for at least an hour before rolling.
Resting the dough in the fridge:
- Allows the butter to firm to maintain flakiness.
- Prevents shrinking back during rolling
- Makes the dough easier to handle.
If you prepare the dough a day ahead, pull the pie crust dough out of the fridge 20-30 minutes before rolling to soften slightly.
5. Rolling:
When it’s time to roll out your pie dough, flour your table and work from the center outward to maintain an even thickness. Try rolling in long strokes with even pressure on both sides of your rolling pin. Turn the dough a quarter turn as you go to maintain a round shape.
6. Sizing the pie crust :
To size your pie crust perfectly, place your pie dish upside down in the center of the rolled-out dough. Then, using a knife or pizza cutter, cut approximately 3 inches around the edge of the tin.
If you’re working with a deep-dish pie tin, add an extra inch for adequate coverage. This ensures that you’ll have enough pie dough to make a nice crimped edge.
7. Transfer without tearing:
To transfer the dough to the pie dish without tearing, flour it lightly and gently roll it up over the rolling pin. This makes it easy to lift and position in the tin without any fuss. Unroll it carefully over the pie dish to avoid stretching or tearing.
8. Press, don’t stretch:
Gently press the pie crust into the bottom edges of the tin, ensuring there are no air bubbles between the dough and the tin. Avoid stretching the dough as it may shrink back during baking. Simply guide it with light pressure for the perfect fit.
9. Crimp the edges:
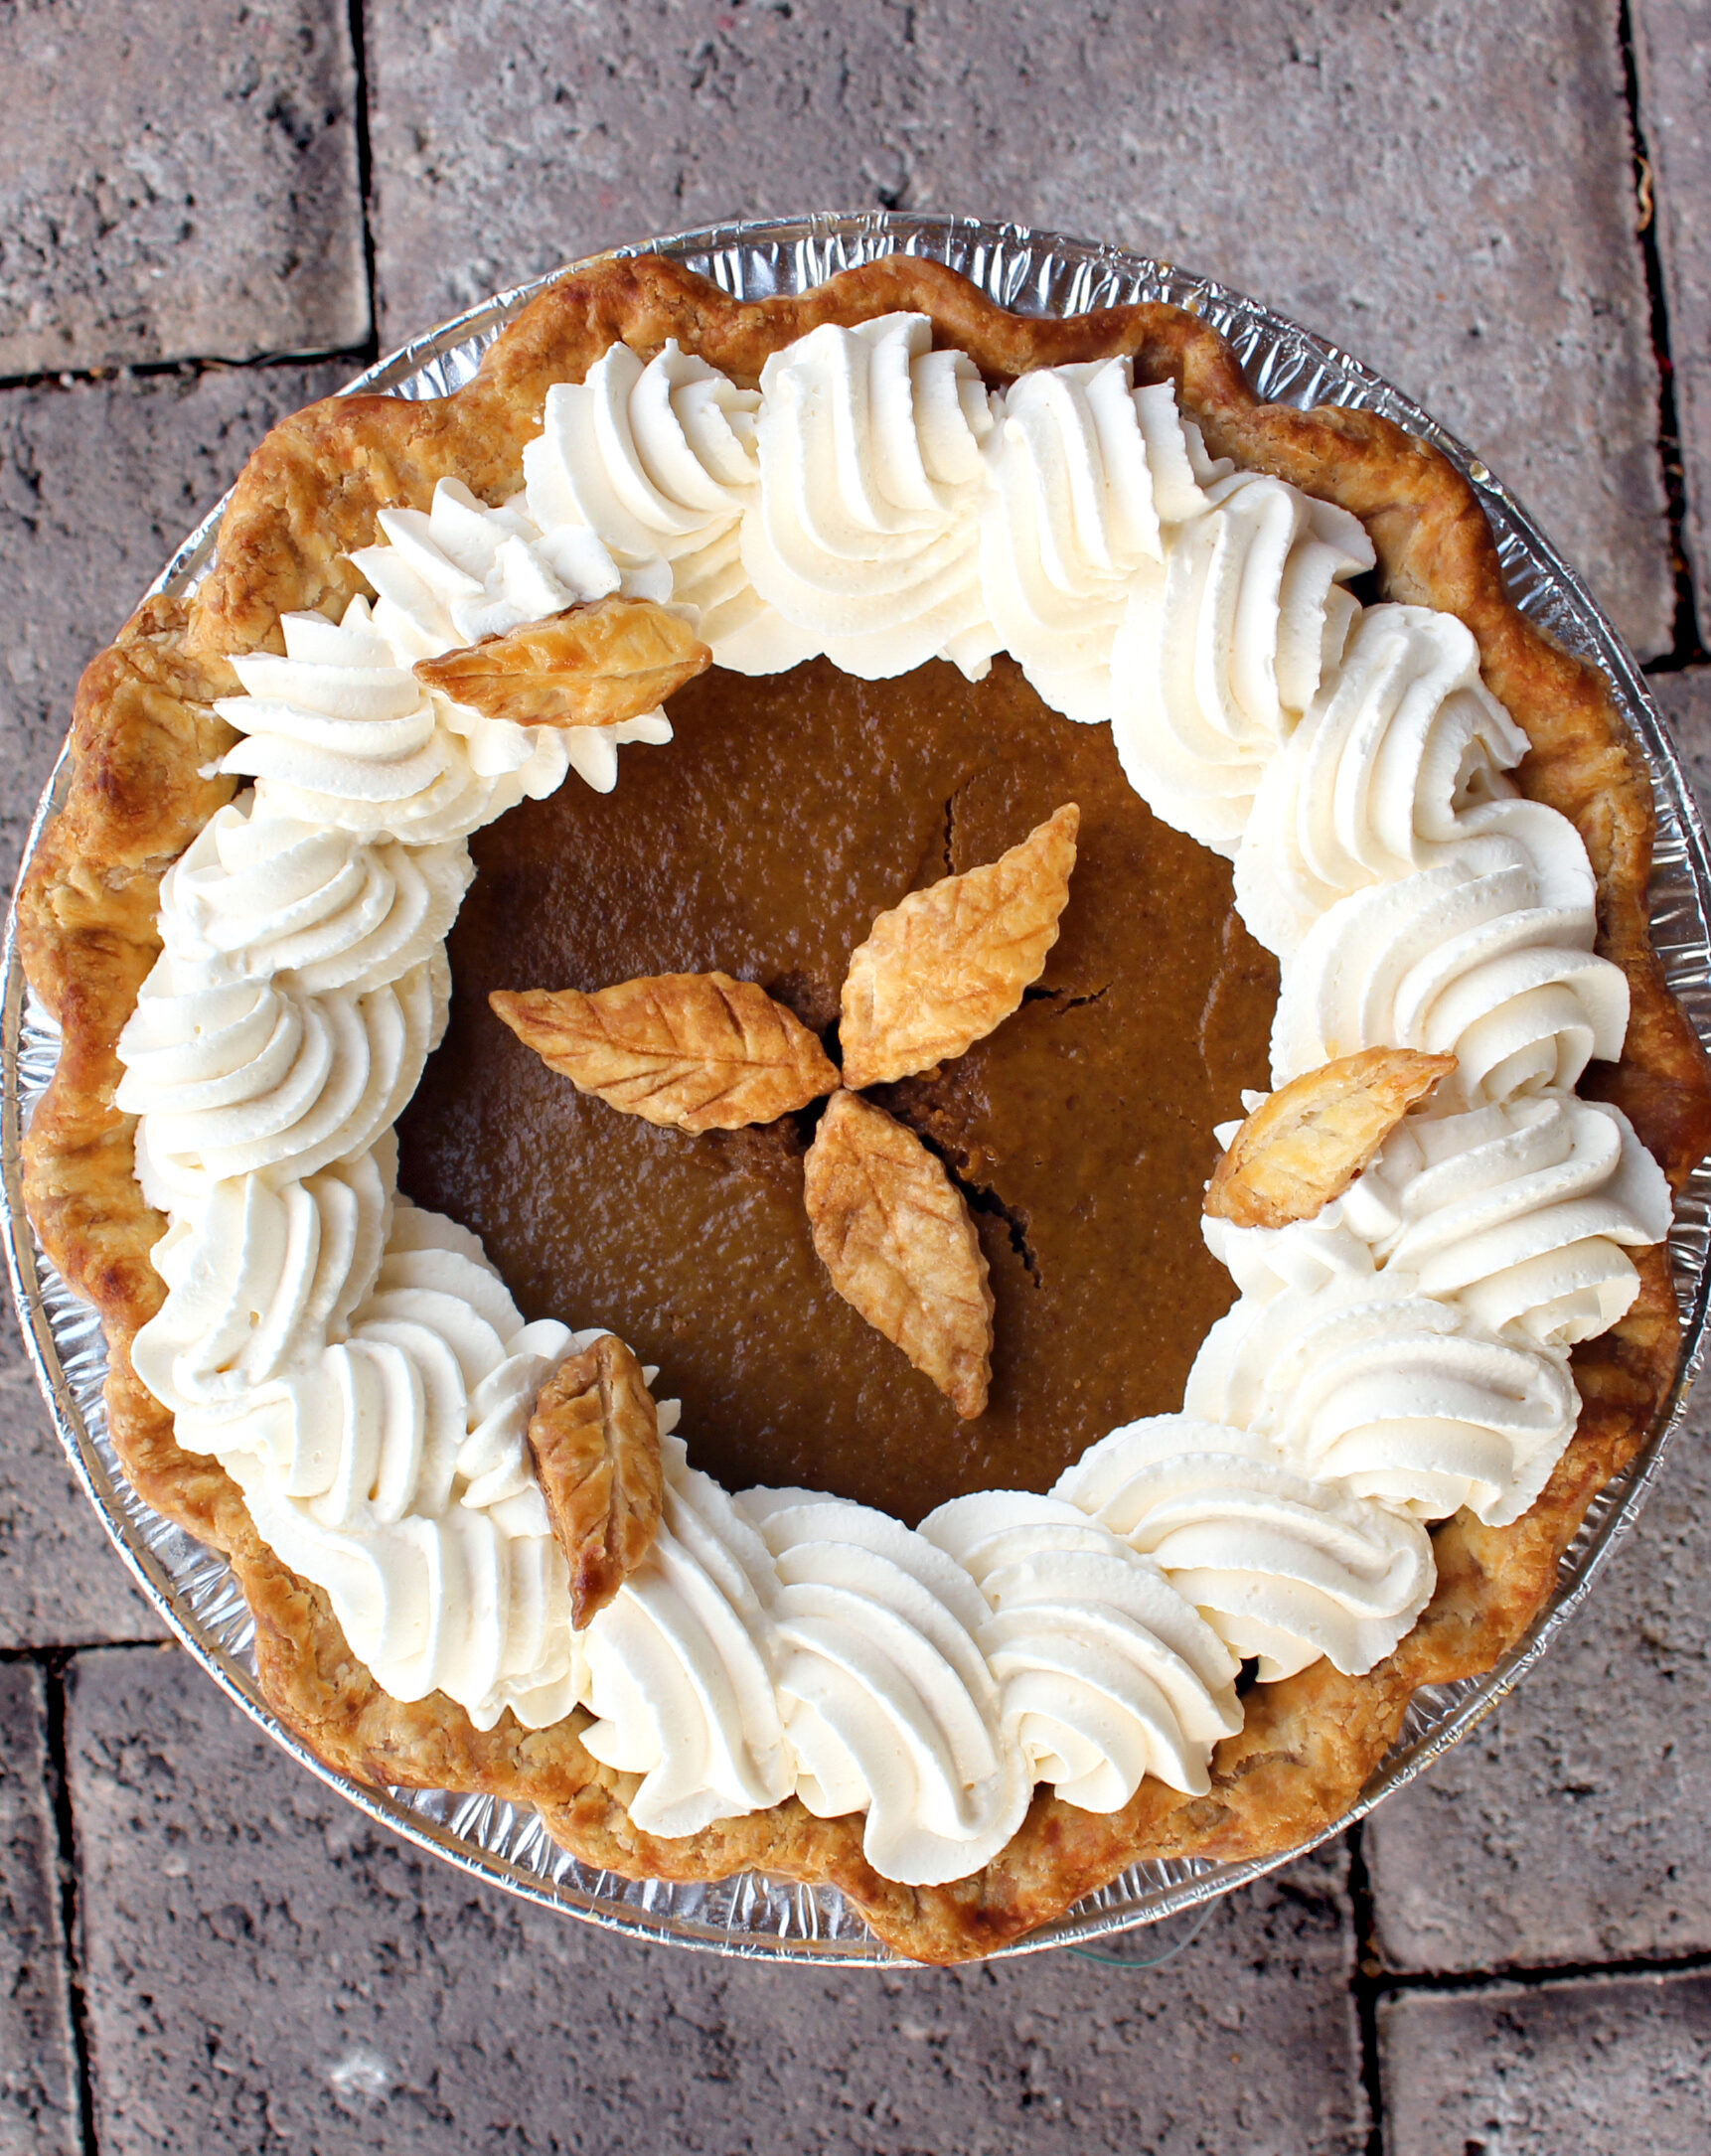
Fold the excess dough under itself to create a thick bakery-style edge. Then, use your fingers to crimp the edges. You can create different patterns – like the classic scalloped edge – by pinching the dough with your thumb and forefinger. Crimping not only gives your pie a beautiful, professional look but also helps prevent the filling from seeping out.
10. Refrigerate before baking:
Chilling the pie crust after shaping is essential to make sure the it holds its shape while baking! Egg wash before filling and baking, which helps seal the crust and ensure that shiny golden color that bakery pies are known for!

Bonus Tips for Perfect Pie Crust
- Use a glass pie dish to check if the bottom is fully baked
- Practice crimping techniques to create stunning pie designs
- Experiment with flavor by adding a touch of vanilla or topping the pie crust with sugar
By following these pastry chef-approved tips, you’ll be baking show-stopping pies with perfectly golden, flaky, and flavorful crusts. Don’t worry if your first few attempts aren’t flawless—practice makes perfect. Soon, your holiday pies will be the talk of the table!
If you’re making pumpkin pies this Thanksgiving, learn how to make your own pumpkin puree here!
